
前言
以往在 LINE 平台上發送公告相關訊息時都只能編排文字順序、傳另一個圖片、抑或是傳影片…anyway,而隨著 LINE 推出了 Flex Message 讓開發者可以將訊息當作網頁 CSS 樣式塑造出一個客製化的訊息格式,這在 Chatbot 的領域裡基本上可以算是殺手級功能了,Chatbot 可以在過程中可以依照對話流程釋出不同樣版的內容,讓使用者體驗更上一層。
隨著時間的演進 LINE 也 release 了自家的前端框架 - LIFF,開發者能夠很快速的使用到 LINE Login 的相關功能並且整合到 Chatbot 上面,讓整體服務的使用體驗更上一層,接著在近些日子釋出了本篇介紹的主軸 - ShareTargetPicker,其功能主要是能將之前只有 Chatbot 才能使用的 Flex Message 透過 LIFF 的這隻 API 使用發送者的名義將客製化訊息幫忙發送給 使用者/群組/聊天室,讓我在群組公布訊息時能有煥然一新的模樣呢!
- 也有 LINE API Expert 分享的 看起來很專業的 LINE 數位版名片 文章可以參考。
會寫這篇的原因也是因為最近寫了一個 Side Project - Announcer 讓我可以再公布訊息時可以發送漂亮的 Flex MEssage,而使用 Node.js 開發時因為需要使用 LIFF 的 ShareTargetPicker,當時只透過 EJS 幫我產生 html template 來發送 FlexMessage,一開始認為應該不會寫太多前端的邏輯,但隨著想增進更多的 UX 因此需要操作更多的前端邏輯(可以看看這個 tag 裡的 views 資料夾),因此在多種考慮下決定使用 Vue 來簡化我的開發,但在 migrate 之前總是要先了解一下兩邊結合的可行性,本篇就給大家帶來 Vue3 結合 LIFF 的相關使用介紹。 🙂
FlexMessage 詳細介紹可以參考這篇 - Flex Message 的 Update 1 已公開
介紹
範例專案在此: GitHub
首先呢,就使用 vue 官方建議的 command line 來建立一個新的專案,名稱為 liff-2_4-demo:
1 | vue create liff-2_4-demo |
輸入之後就可以選擇要哪個模式,這邊我們選擇 Vue 3 preview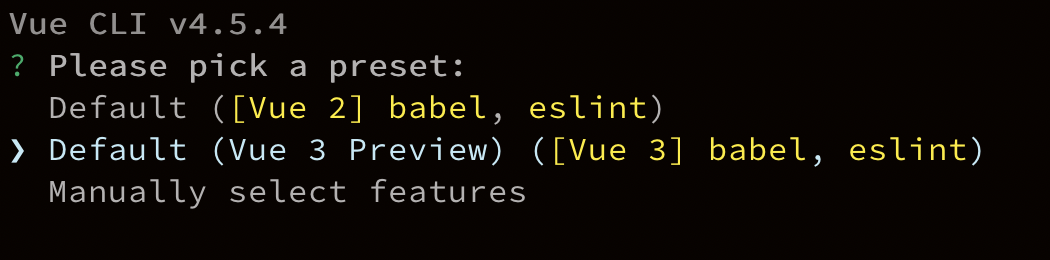
建立好了之後畫面如下,接著就用 cd liff-2_4-demo 進入資料夾開始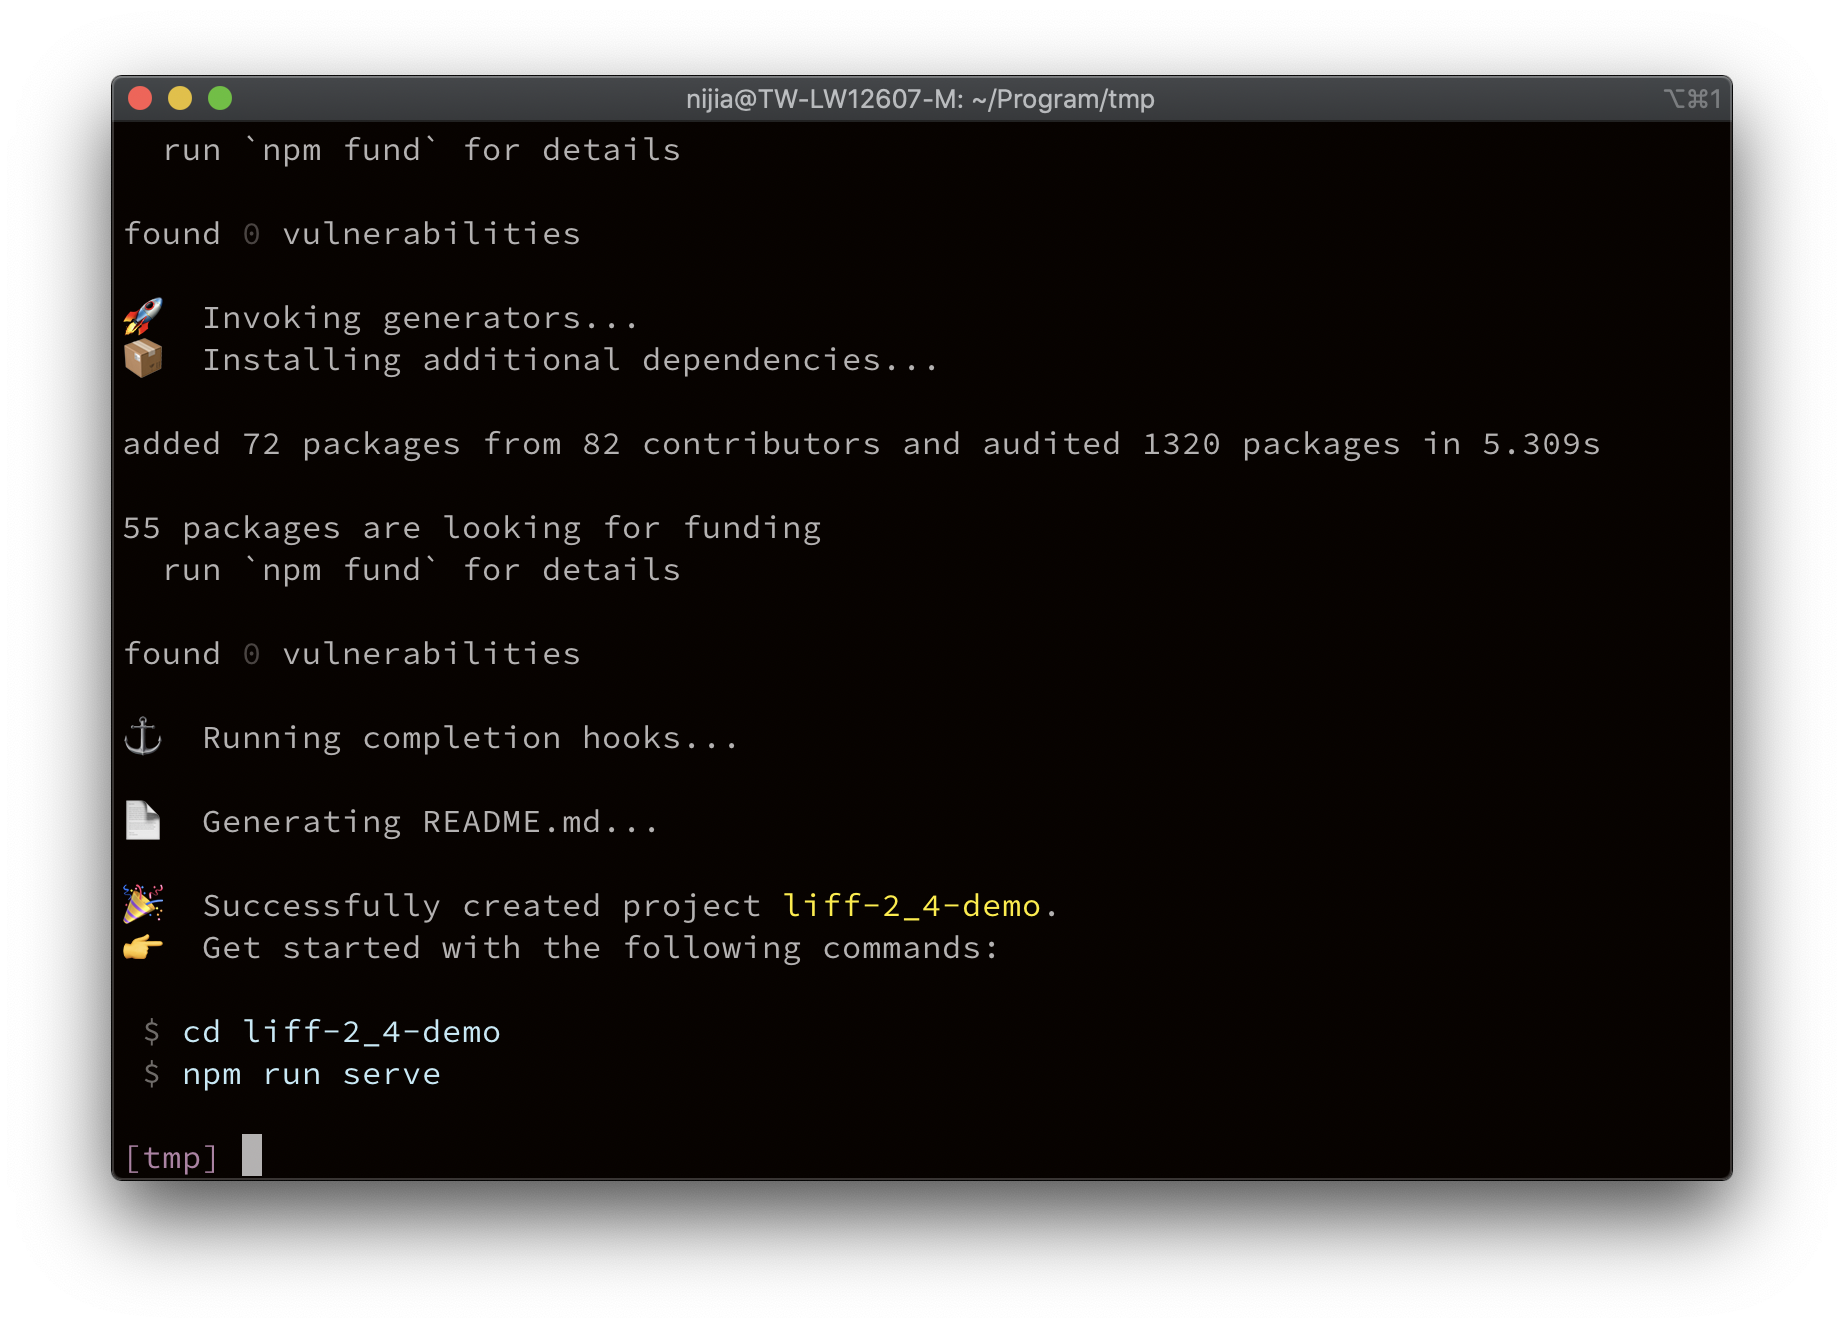
接著分別安裝 Vue Router 以及 LIFF 套件讓後續開發比較順利些
1 | npm install vue-router@next @line/liff |
接著預設會給一個 HelloWorld 的 component,將之沿用並在 src/ 下建立一個 router 資料夾,接著在 router/ 下建立一個 index.js 並加入以下的內容開始使用 Vue3 Router:
若你在 Vue 3 使用 Router 的過程有問題的話可以參考這篇文章
Router 這邊處理好後就接著來處理 LIFF。接著進入到 HelloWorld.vue 的檔案中,找到 props 的部分將它置換成 setup(){}
關於 composition API 的使用方法請參考這個網址
1 | export default { |
liff.init()
接著因為 LIFF 啟用時需要先 init (參考),在 Vue 這邊就選擇放在 Mounted 下,並且搭配著 async/await 來簡化一下 liff 的 sample code,可以選擇自己喜歡的方式去寫 🙂(對 Promise 不熟的話可以參考這篇):
Async/Await 版本:
1 | import { onMounted } from "vue"; |
原版:
1 | onMounted(() => { |
在行動裝置開啟 Liff 時會是有登入狀態,而 if (!liff.isLoggedIn()) 是讓桌機版瀏覽器在進入時可以判斷並導向 LINE 的登入畫面來確保使用者登入的狀態
liff.ShareTargetPicker()
由於在 掛載(mount)階段已經初始化好 liff 了,接著在這邊就可以直接使用並參考 ShareTargetPicker 的文件把 code 複製過來並一樣提供兩種使用方法給大家:
Async/Await 版本:
1 | async function sendTargetPicker() { |
原版:
若不習慣用語法糖的話可以用原本的範例:
1 | function sendTargetPicker() { |
把這個 function 貼上去之後就加上 html 標籤來呼叫 sendTargetPicker 函式:
1 | <button @click="sendTargetPicker">Send Sample</button> |
使用 Heroku 來部署 Vue
首先需要安裝 Heroku Command Line,安裝完之後就先使用 Heroku login 你的帳號,以下的指令會基於這兩個步驟去實現。
由於這邊只使用到前端的部分,為求方便使用 express 來當作跟瀏覽器對接的入口。
在目錄資料夾下建立一個 index.js 的入口檔案,以下的程式碼則是全部根據請求導向至對應的路由上:
1 | const express = require('express'); |
接著使用下 heroku cli 來建立一個服務,-a 後面接著服務的名稱
1 | heroku create -a <your-service> |

建立完成後會自動連接剛剛建立的 repository,接著透過 git push heroku master 來推到 heroku 上:
等待一會兒後就完成啦!!並且還附贈一個 Domain 給你。這邊範例的 domain 則是 https://liff-sample-5.heroku.app/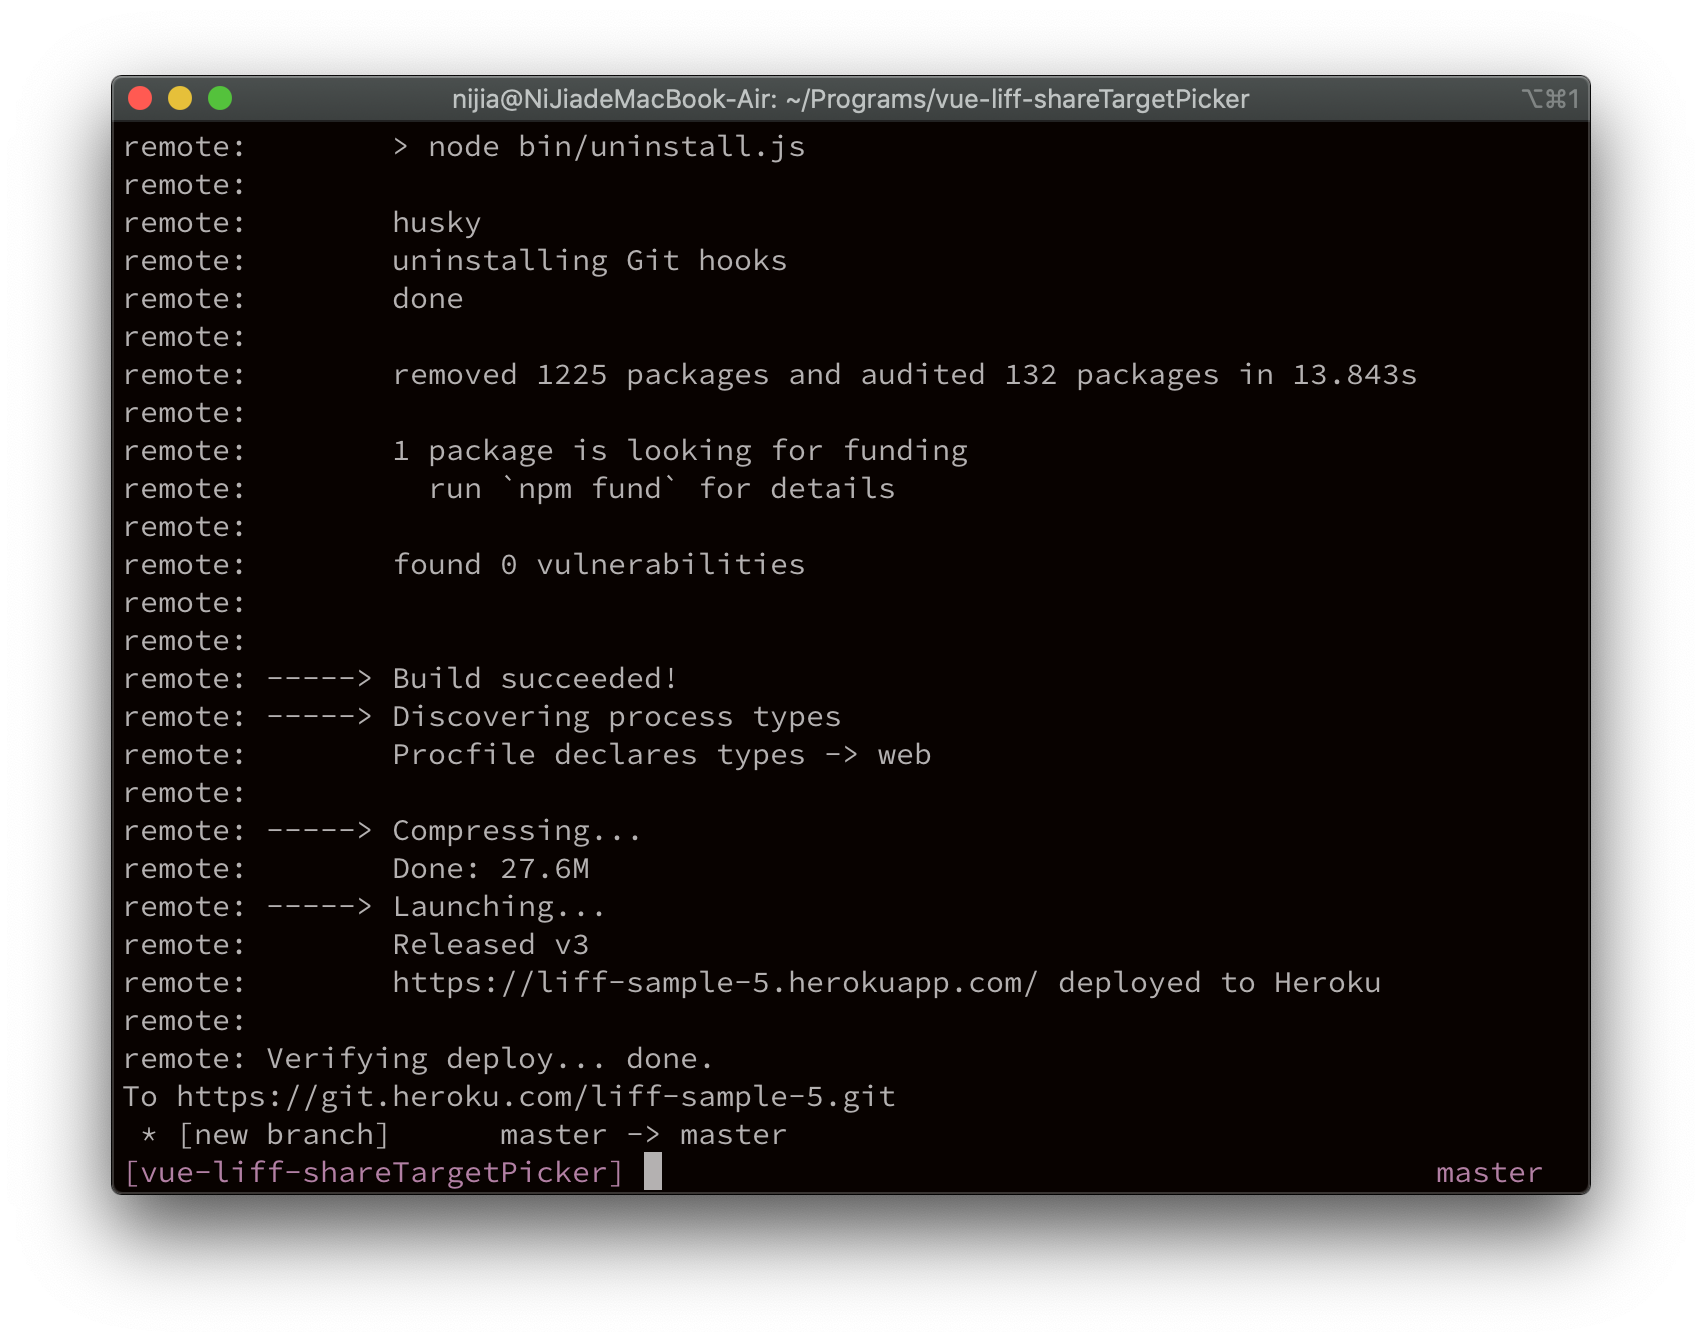
到這裡測試環境已經啟動的差不多了,接著就來建立 LINE Login channel: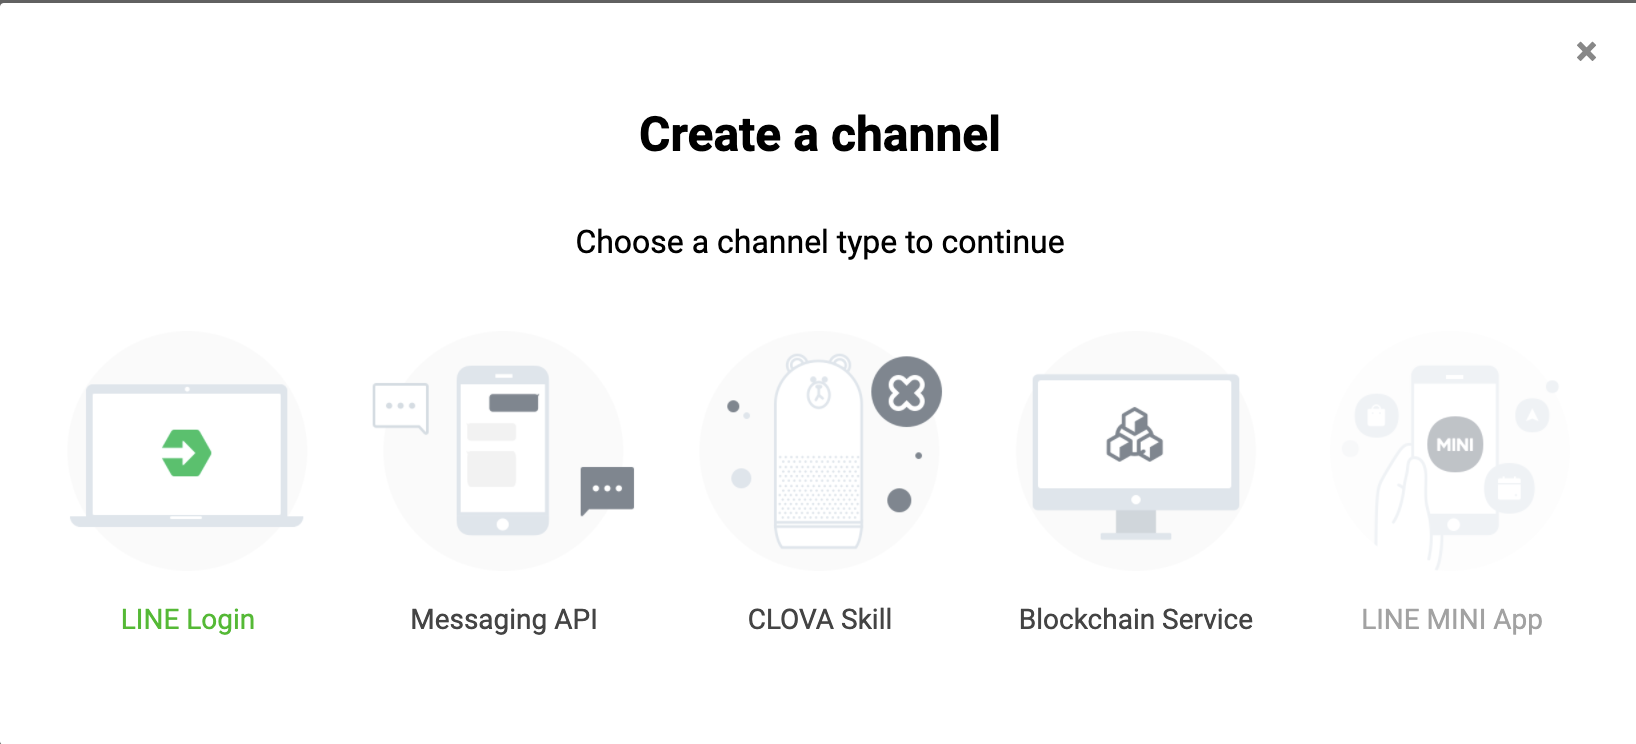
選擇完最左邊的 channel 之後並依序填入相關資訊,並選擇 web app: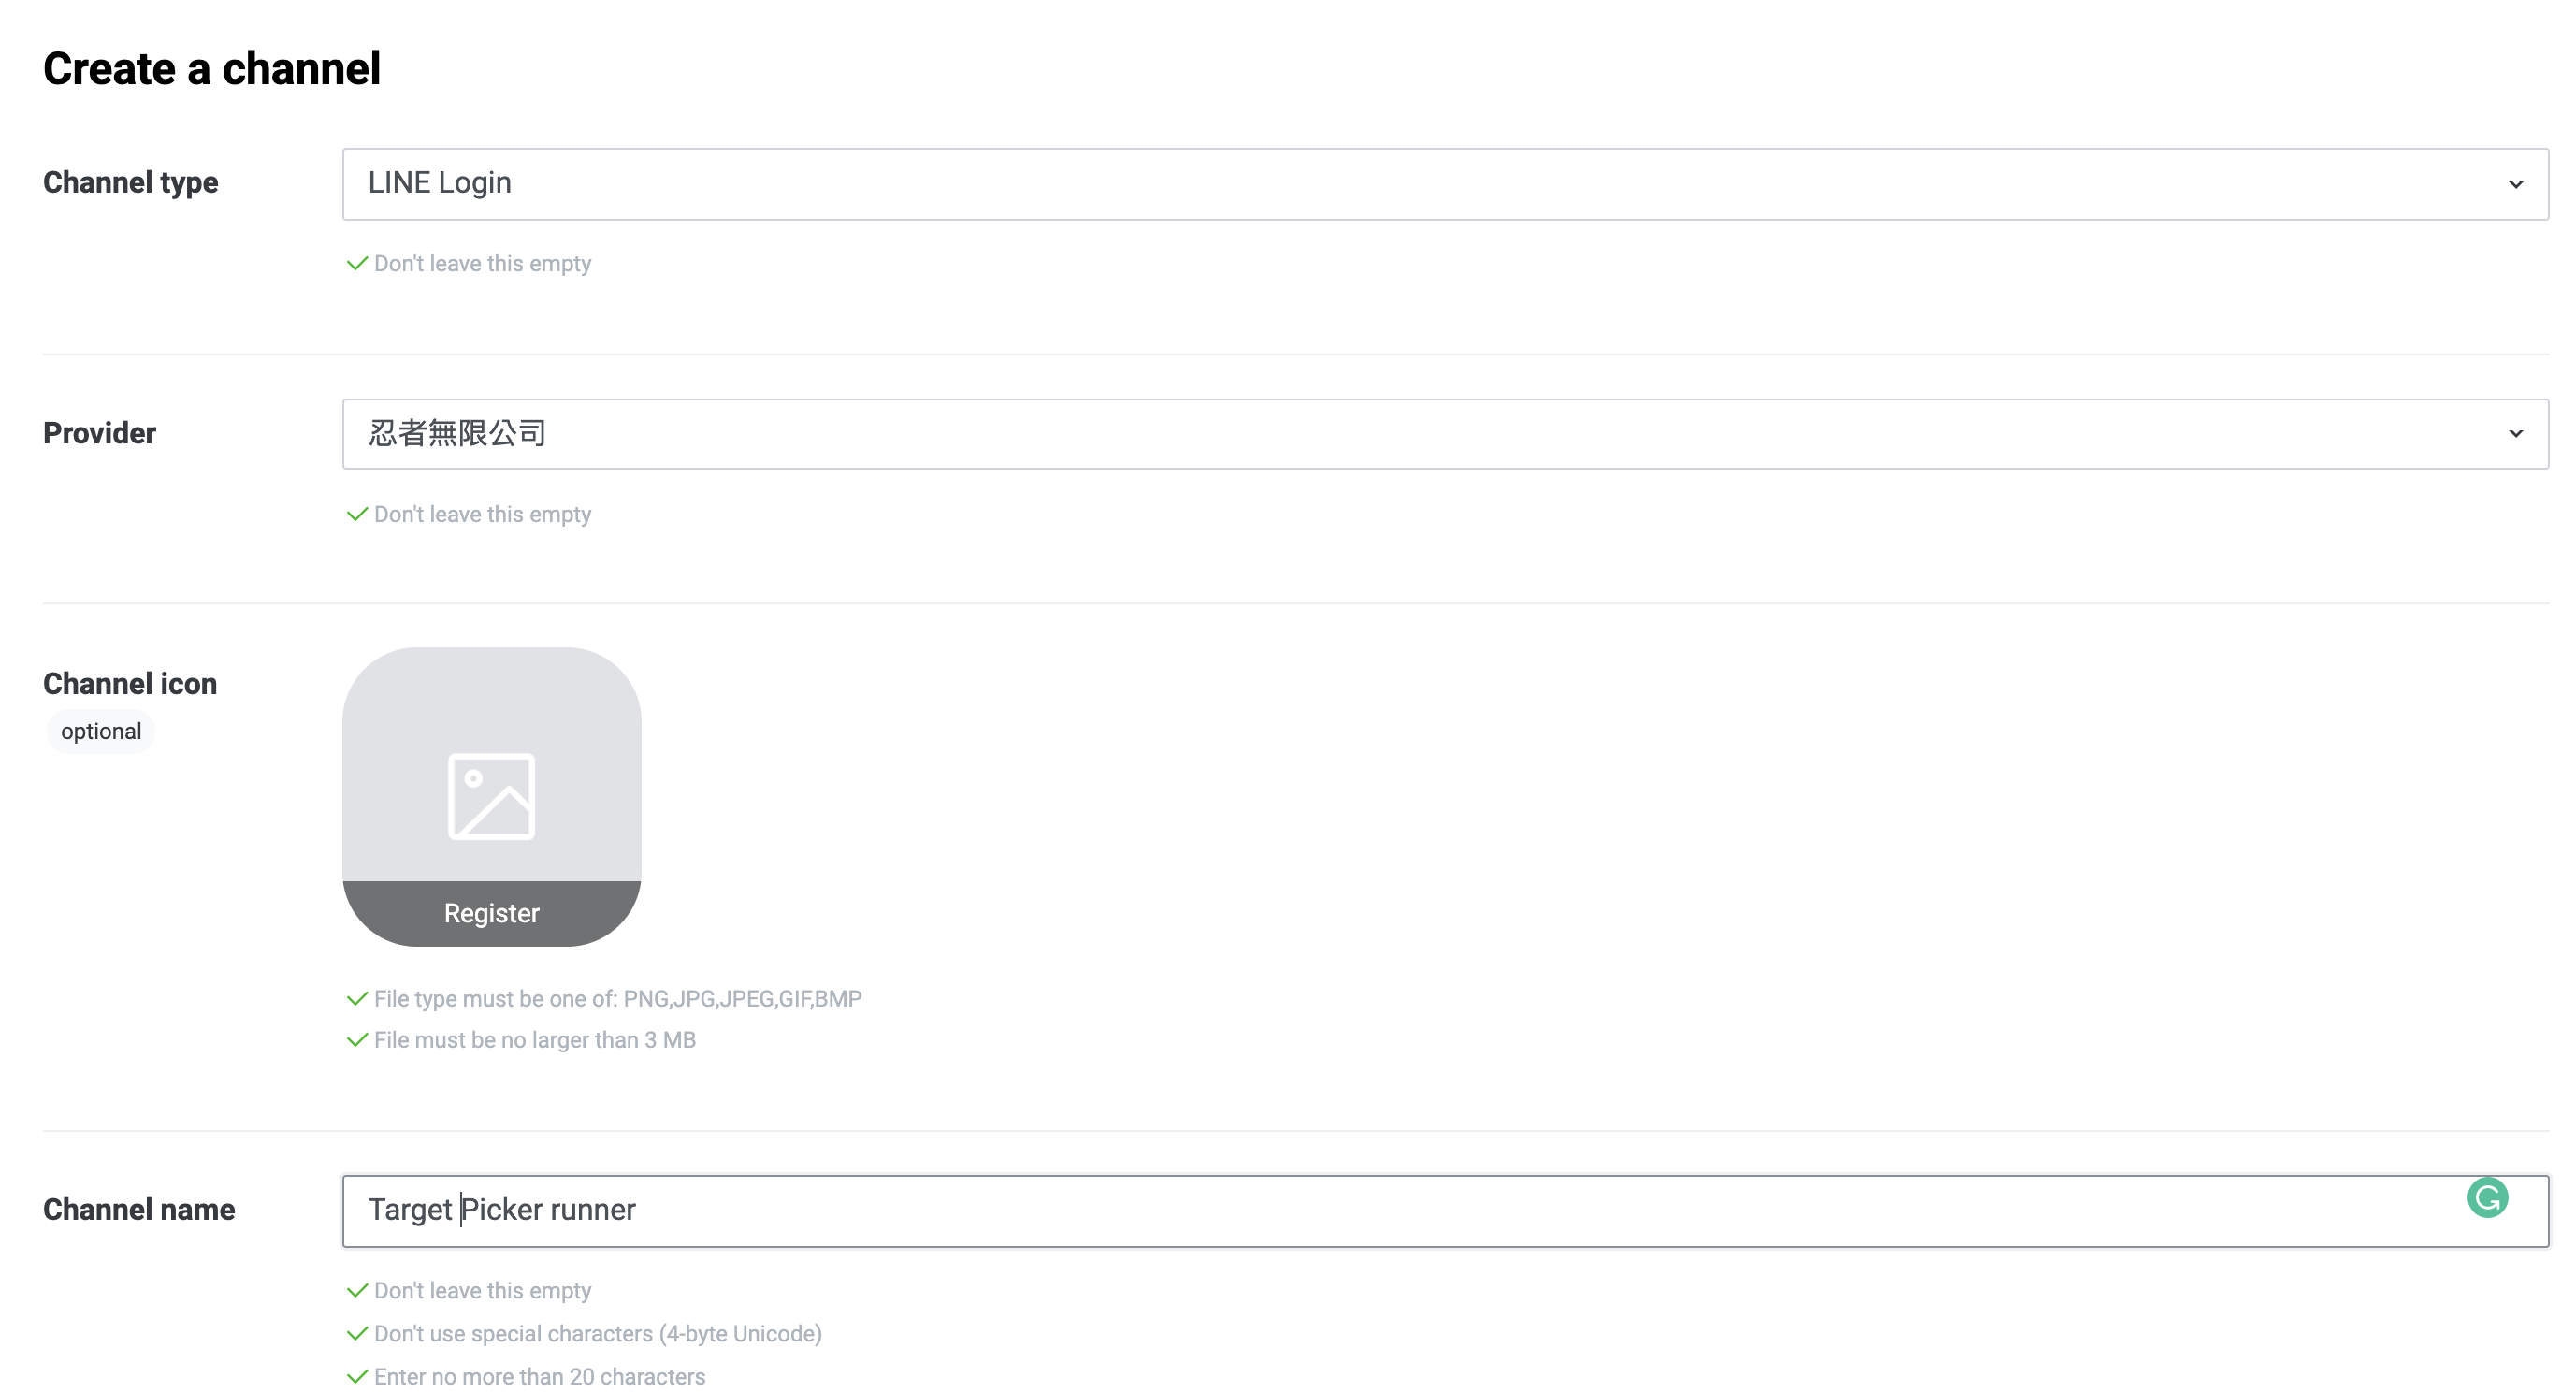
待建立完成之後到 LIFF 的頁籤中新增(Add)一個 LIFF page,將剛剛使用 heroku 建立的網址貼上只 Endpoint Url 輸入框並接著網址輸入/liff/template: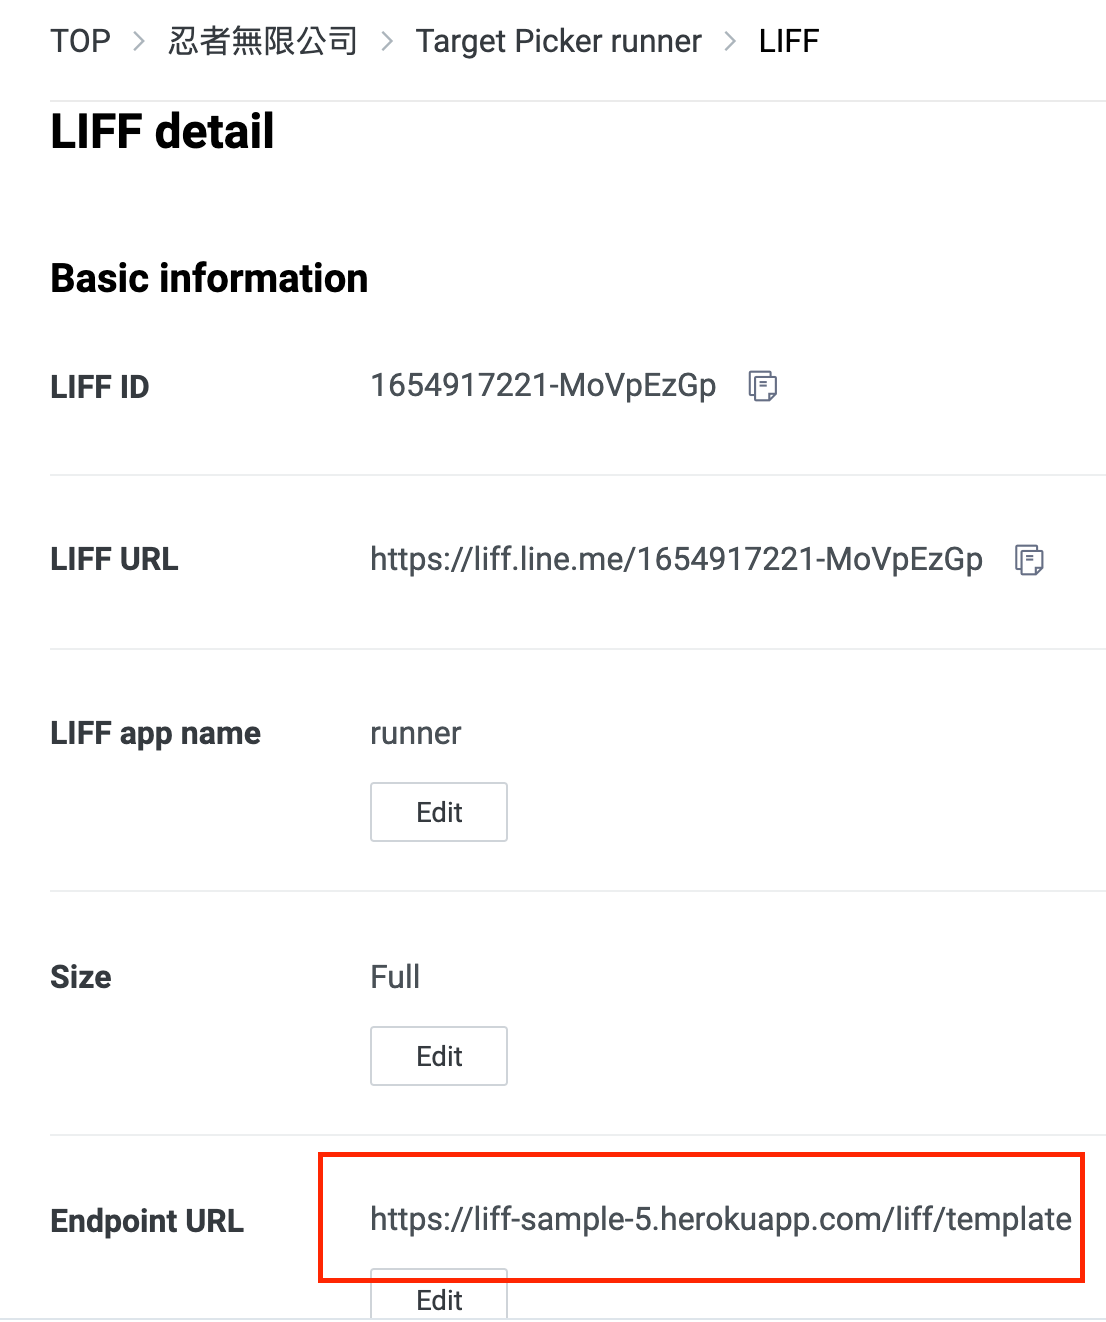
新增完 LIFF page 後要將 Channel Published 以及啟動 ShareTargetPicker 按鈕,並將下方的 LIFF url 複製起來貼到瀏覽器上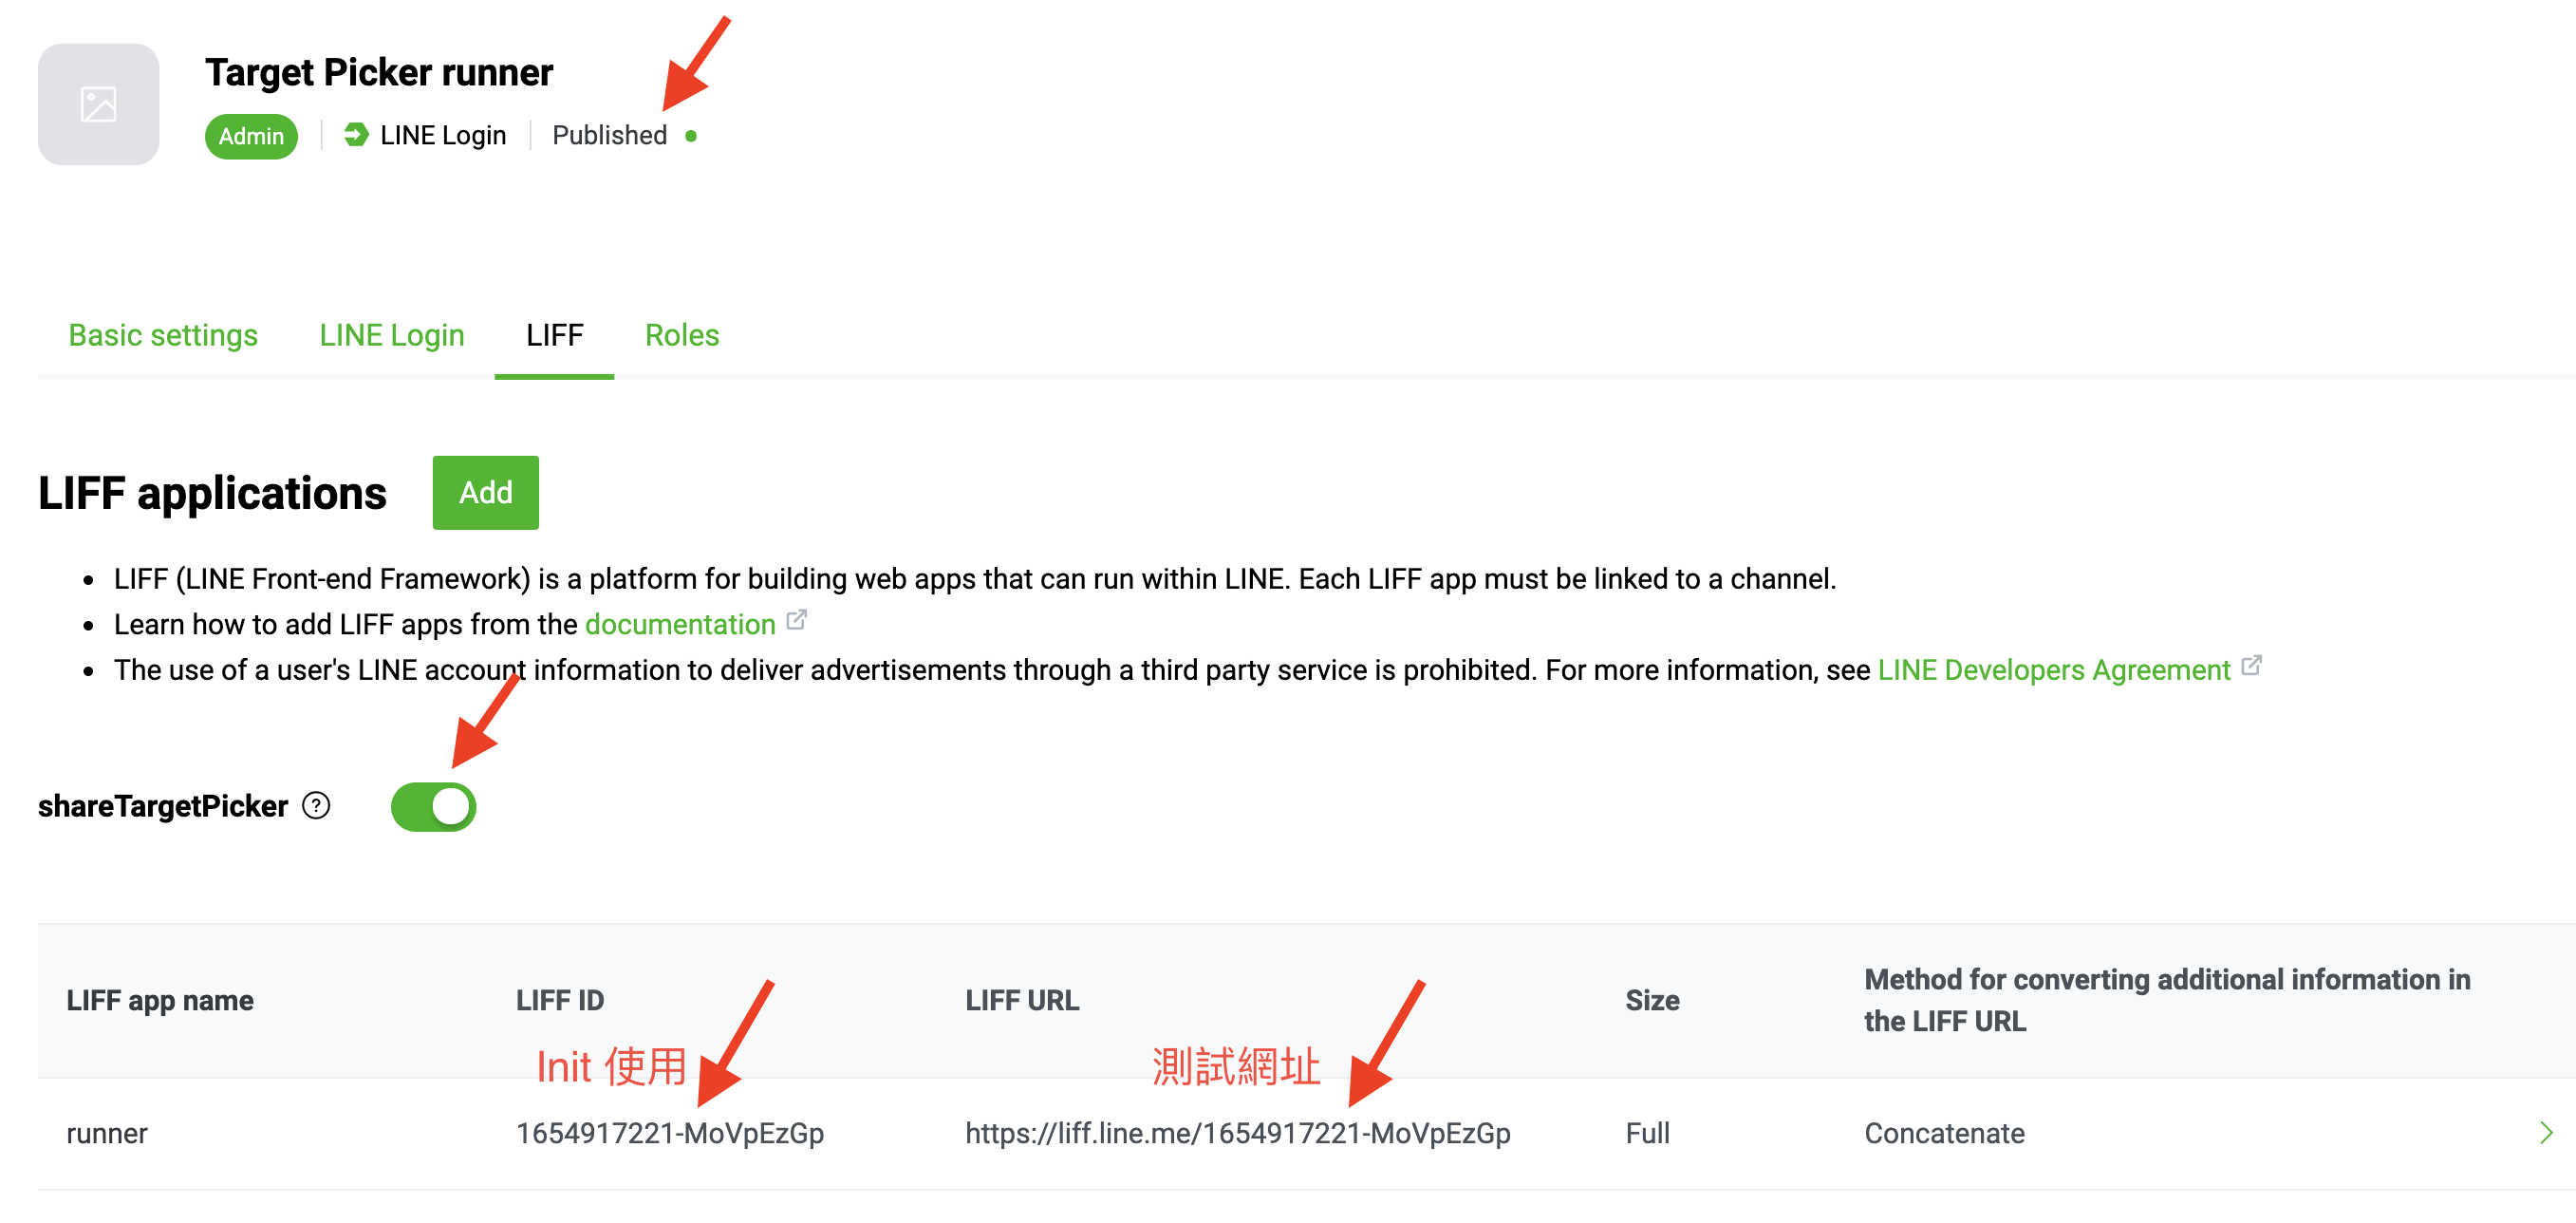
輸入之後 LIFF 會自動 mapping 到剛剛輸入的 Endpoint url,首先在剛進入時因為在掛載(mount)階段,所以會先執行 liff.init()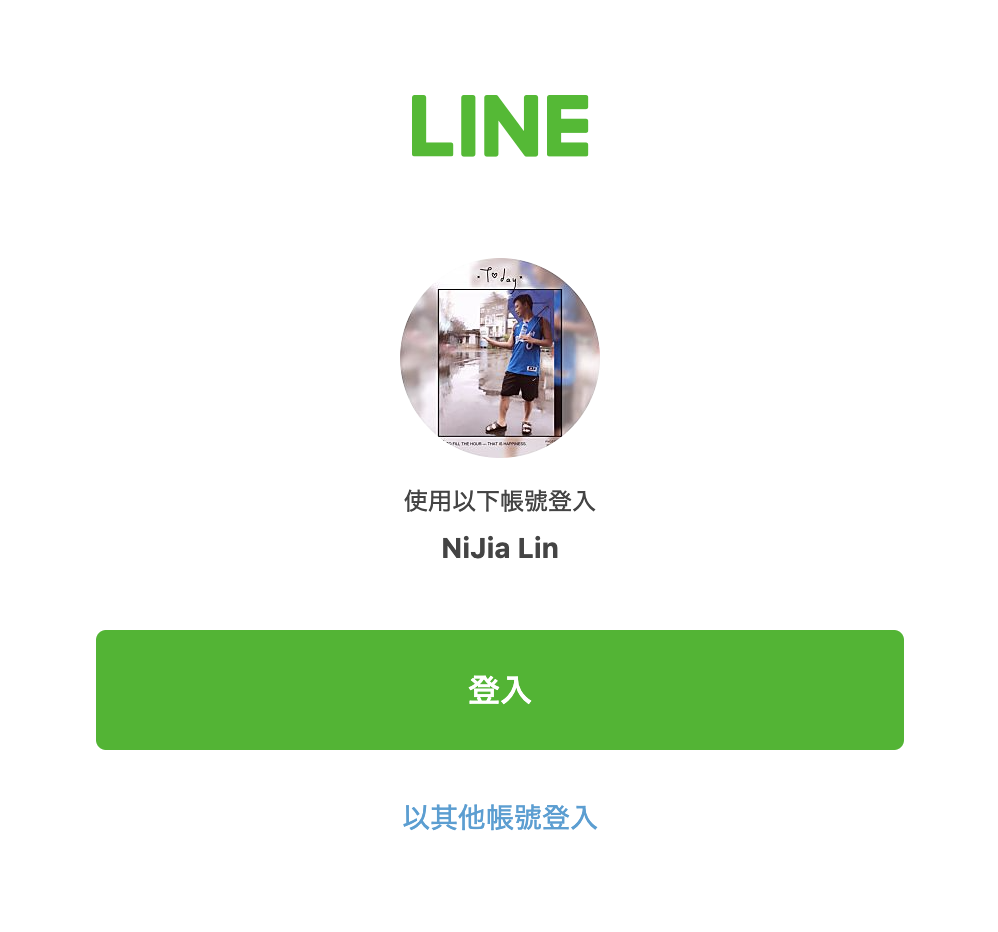
登入之後會導回到以下的畫面: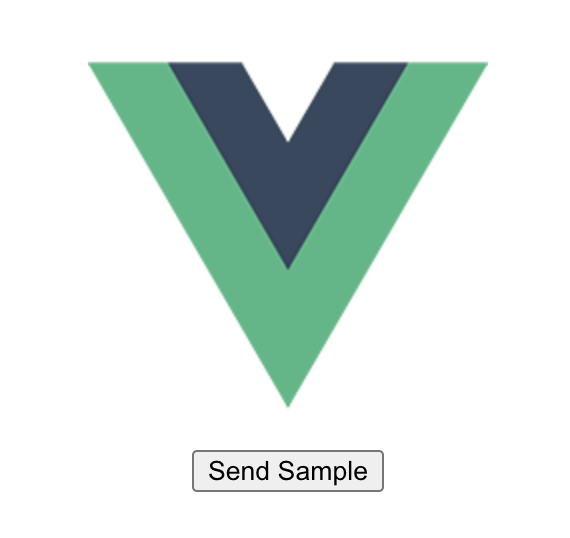
按下按鈕之後會被引導到 好友/群組/聊天室 的分享頁面(可複選):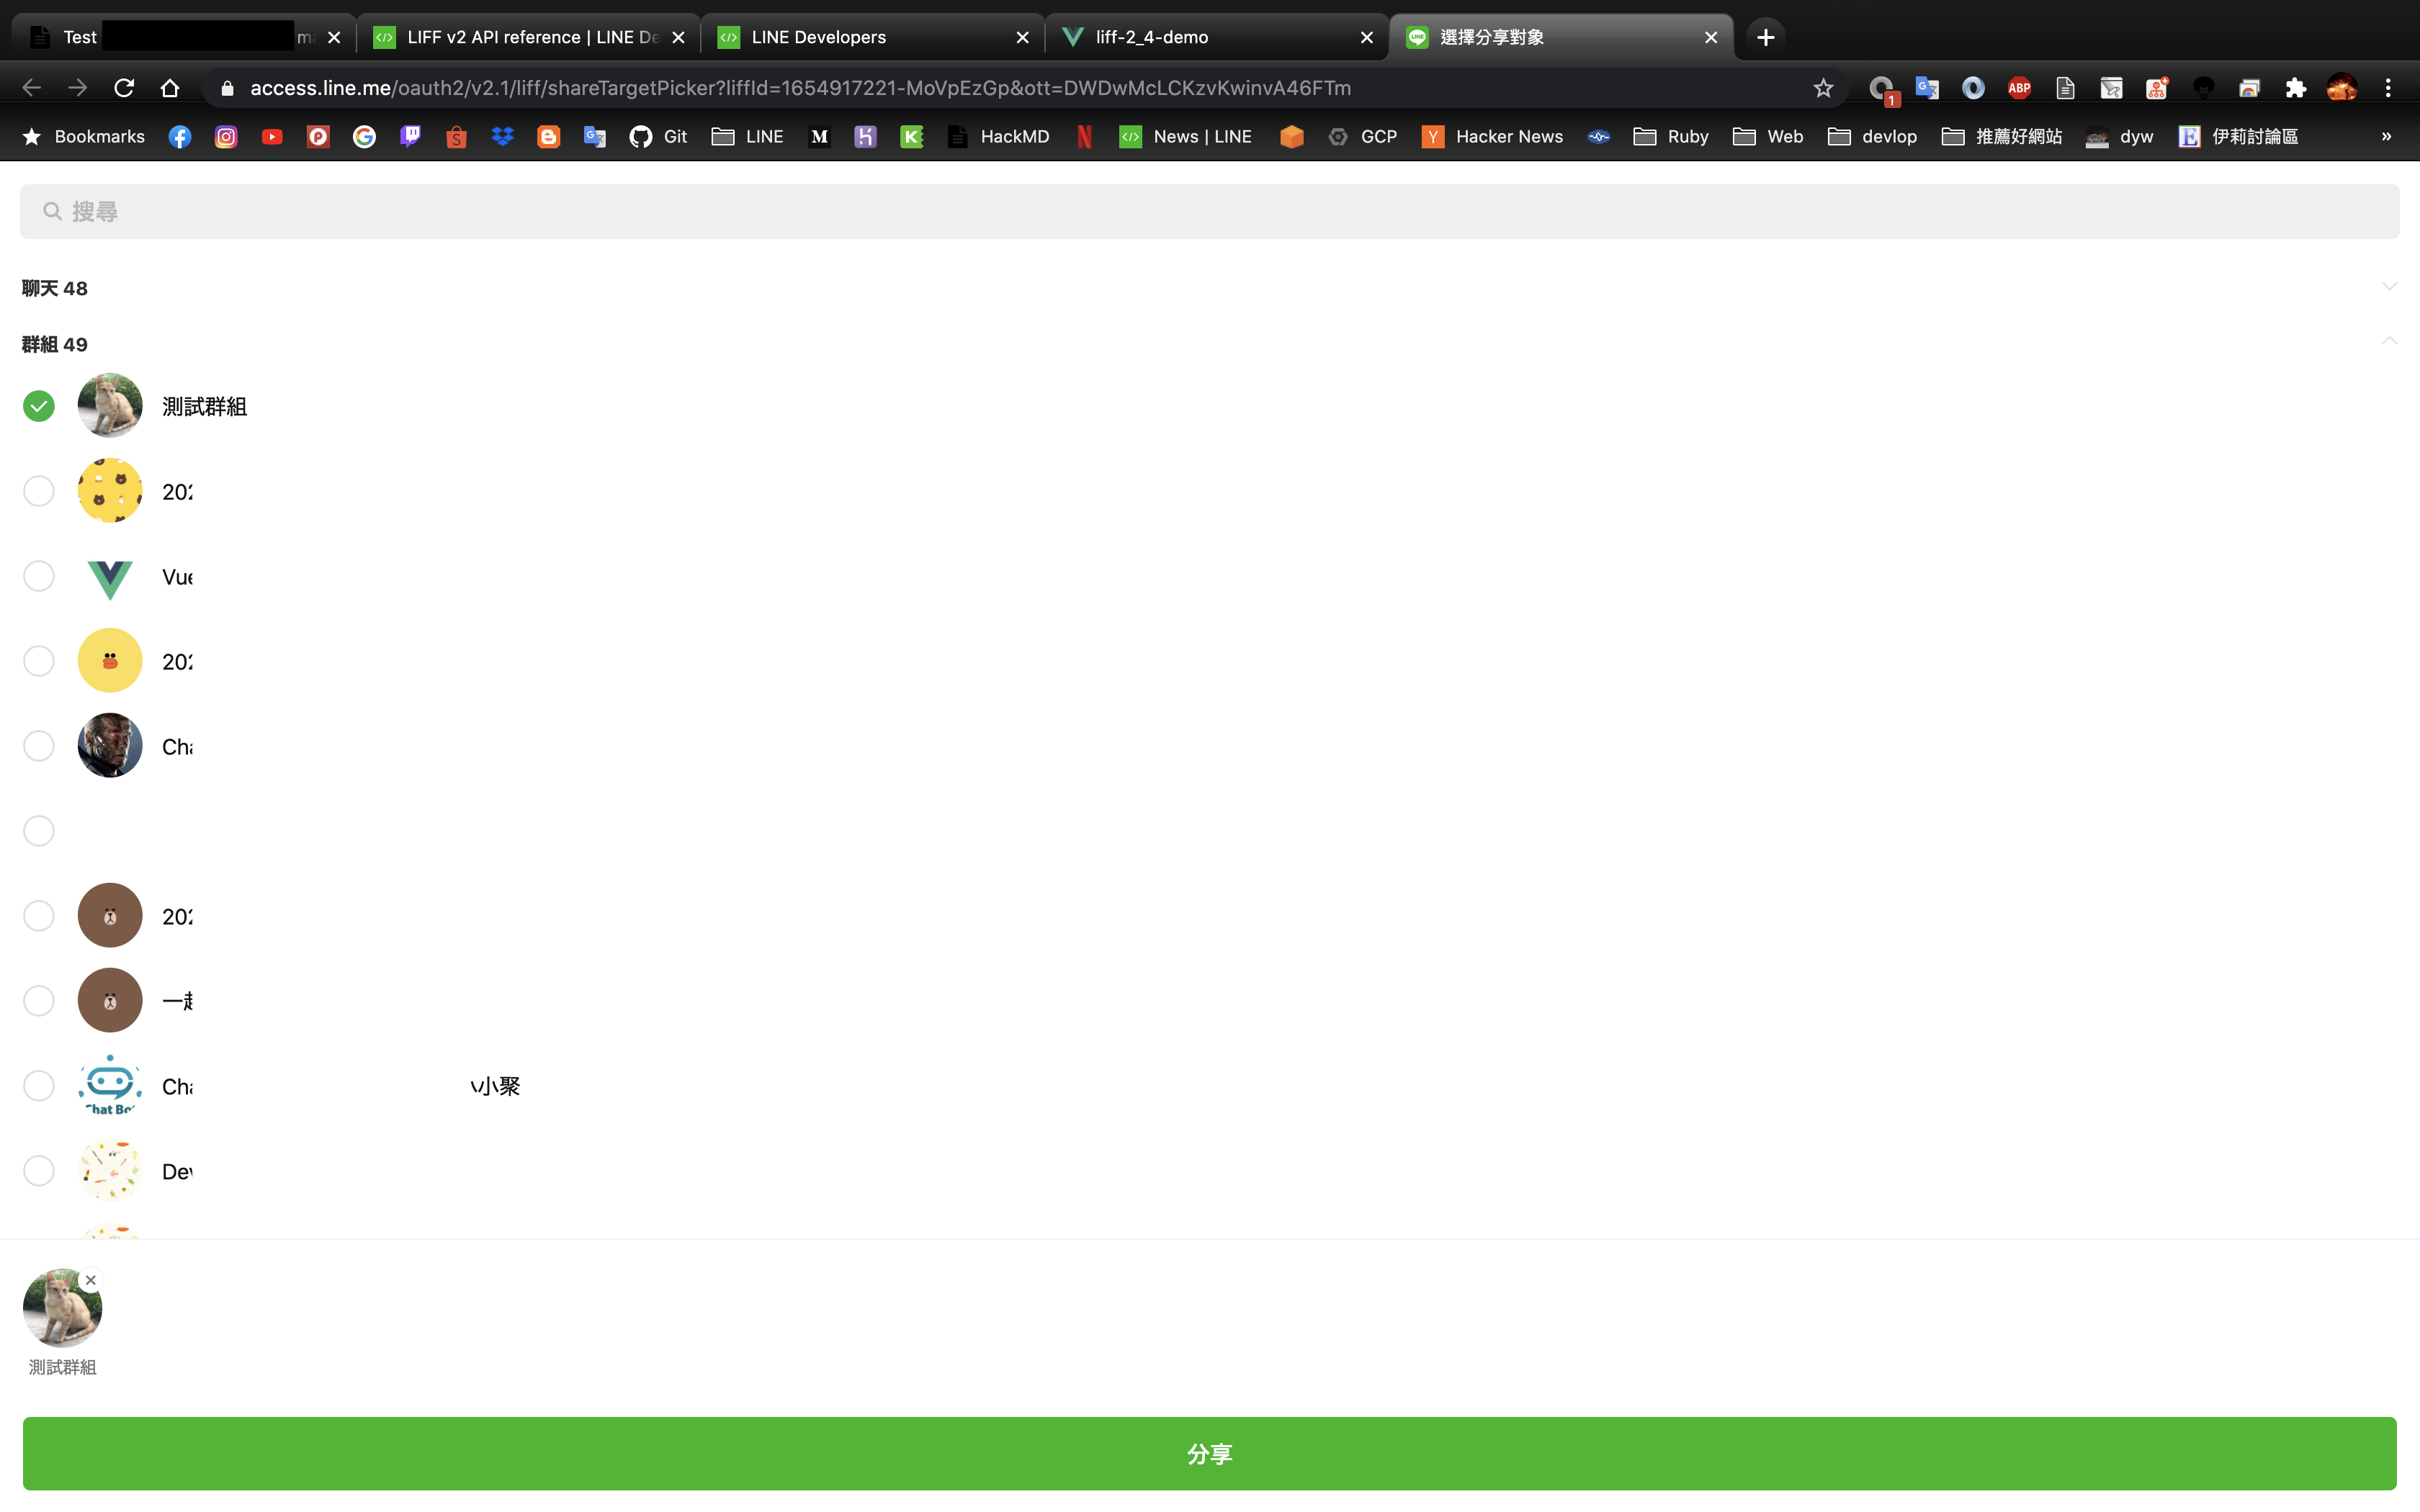
分享之後就看到成果啦 🎉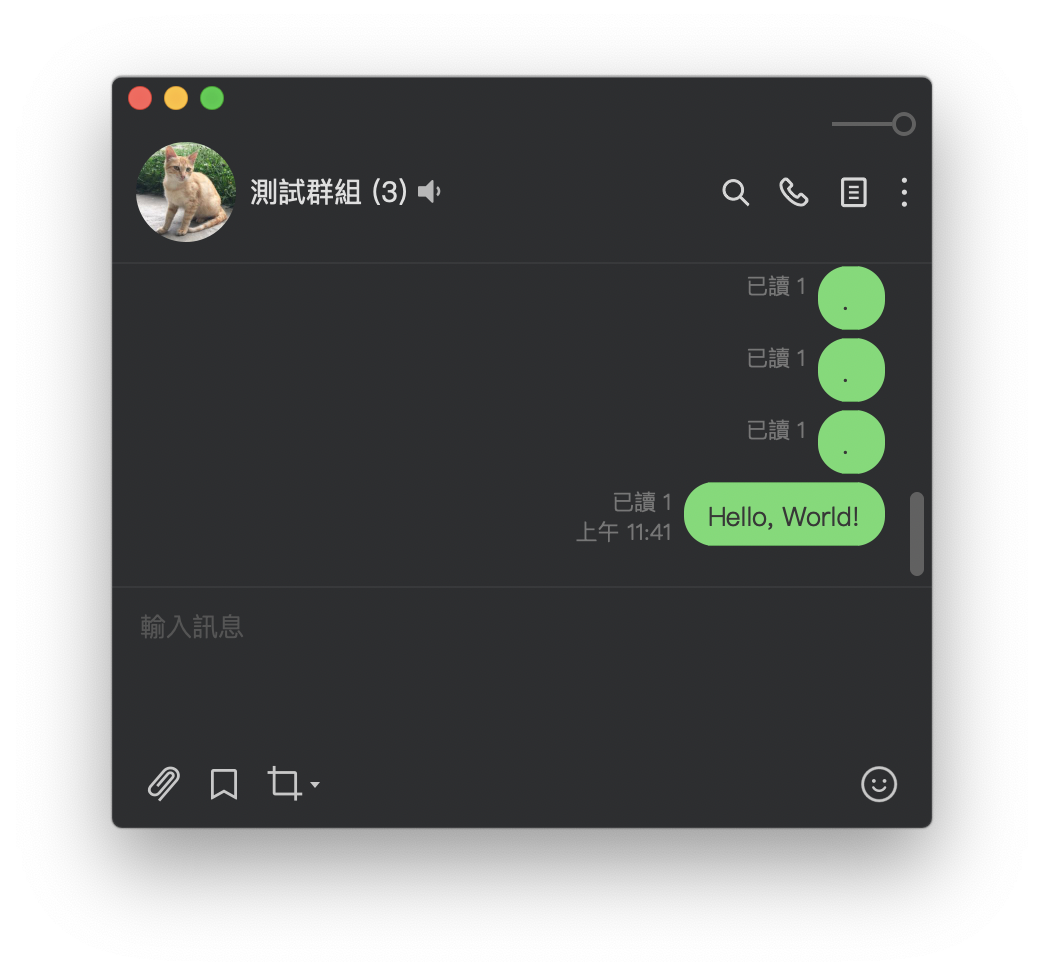
這部分因為 demo 的關係只送出簡單的文字,若想送出很漂亮的樣板可以參考 FlexMessage,並且也有相關的線上工具 - Simulator 讓大家可以產生出自己要的樣板喔!
1 | { |
Bonus
- 若你是使用剛剛提到的工具產生 Flex Message,你需要再產生的 JSON 內容最外面加上下列的相關描述,才能讓 LINE app 收到你的 Flex Message 喔!
1 | { |
- 之所以會一直使用這個判斷式是因為有 IAB(In App Browser) 以及 External Browser 兩種模式,在情境不同時必須先確認有登入過 LINE 才可以使用之後的功能,否則很容易搞不清楚導致開始除錯後才發現沒確認這部分而浪費很多時間。
1 | if (!liff.isLoggedIn()) { |
結論
以往只能讓 Chatbot 回應 FlexMessage,而現在能透過 LIFF 使用 ShareTargetPicker 是否有煥然一新的感覺呢?讓發訊息的身份不會只被綁在 bot 身上,使用者本身也能共用 FlexMessage,透過這篇帶大家逐步使用 Vue3 試玩 LIFF 的新功能,若大家有使用經驗、作品、問題的話歡迎至 Chatbot 社群分享喔!讓大家互惠一同建造出 WOW 的 Side Project 吧!🙂